
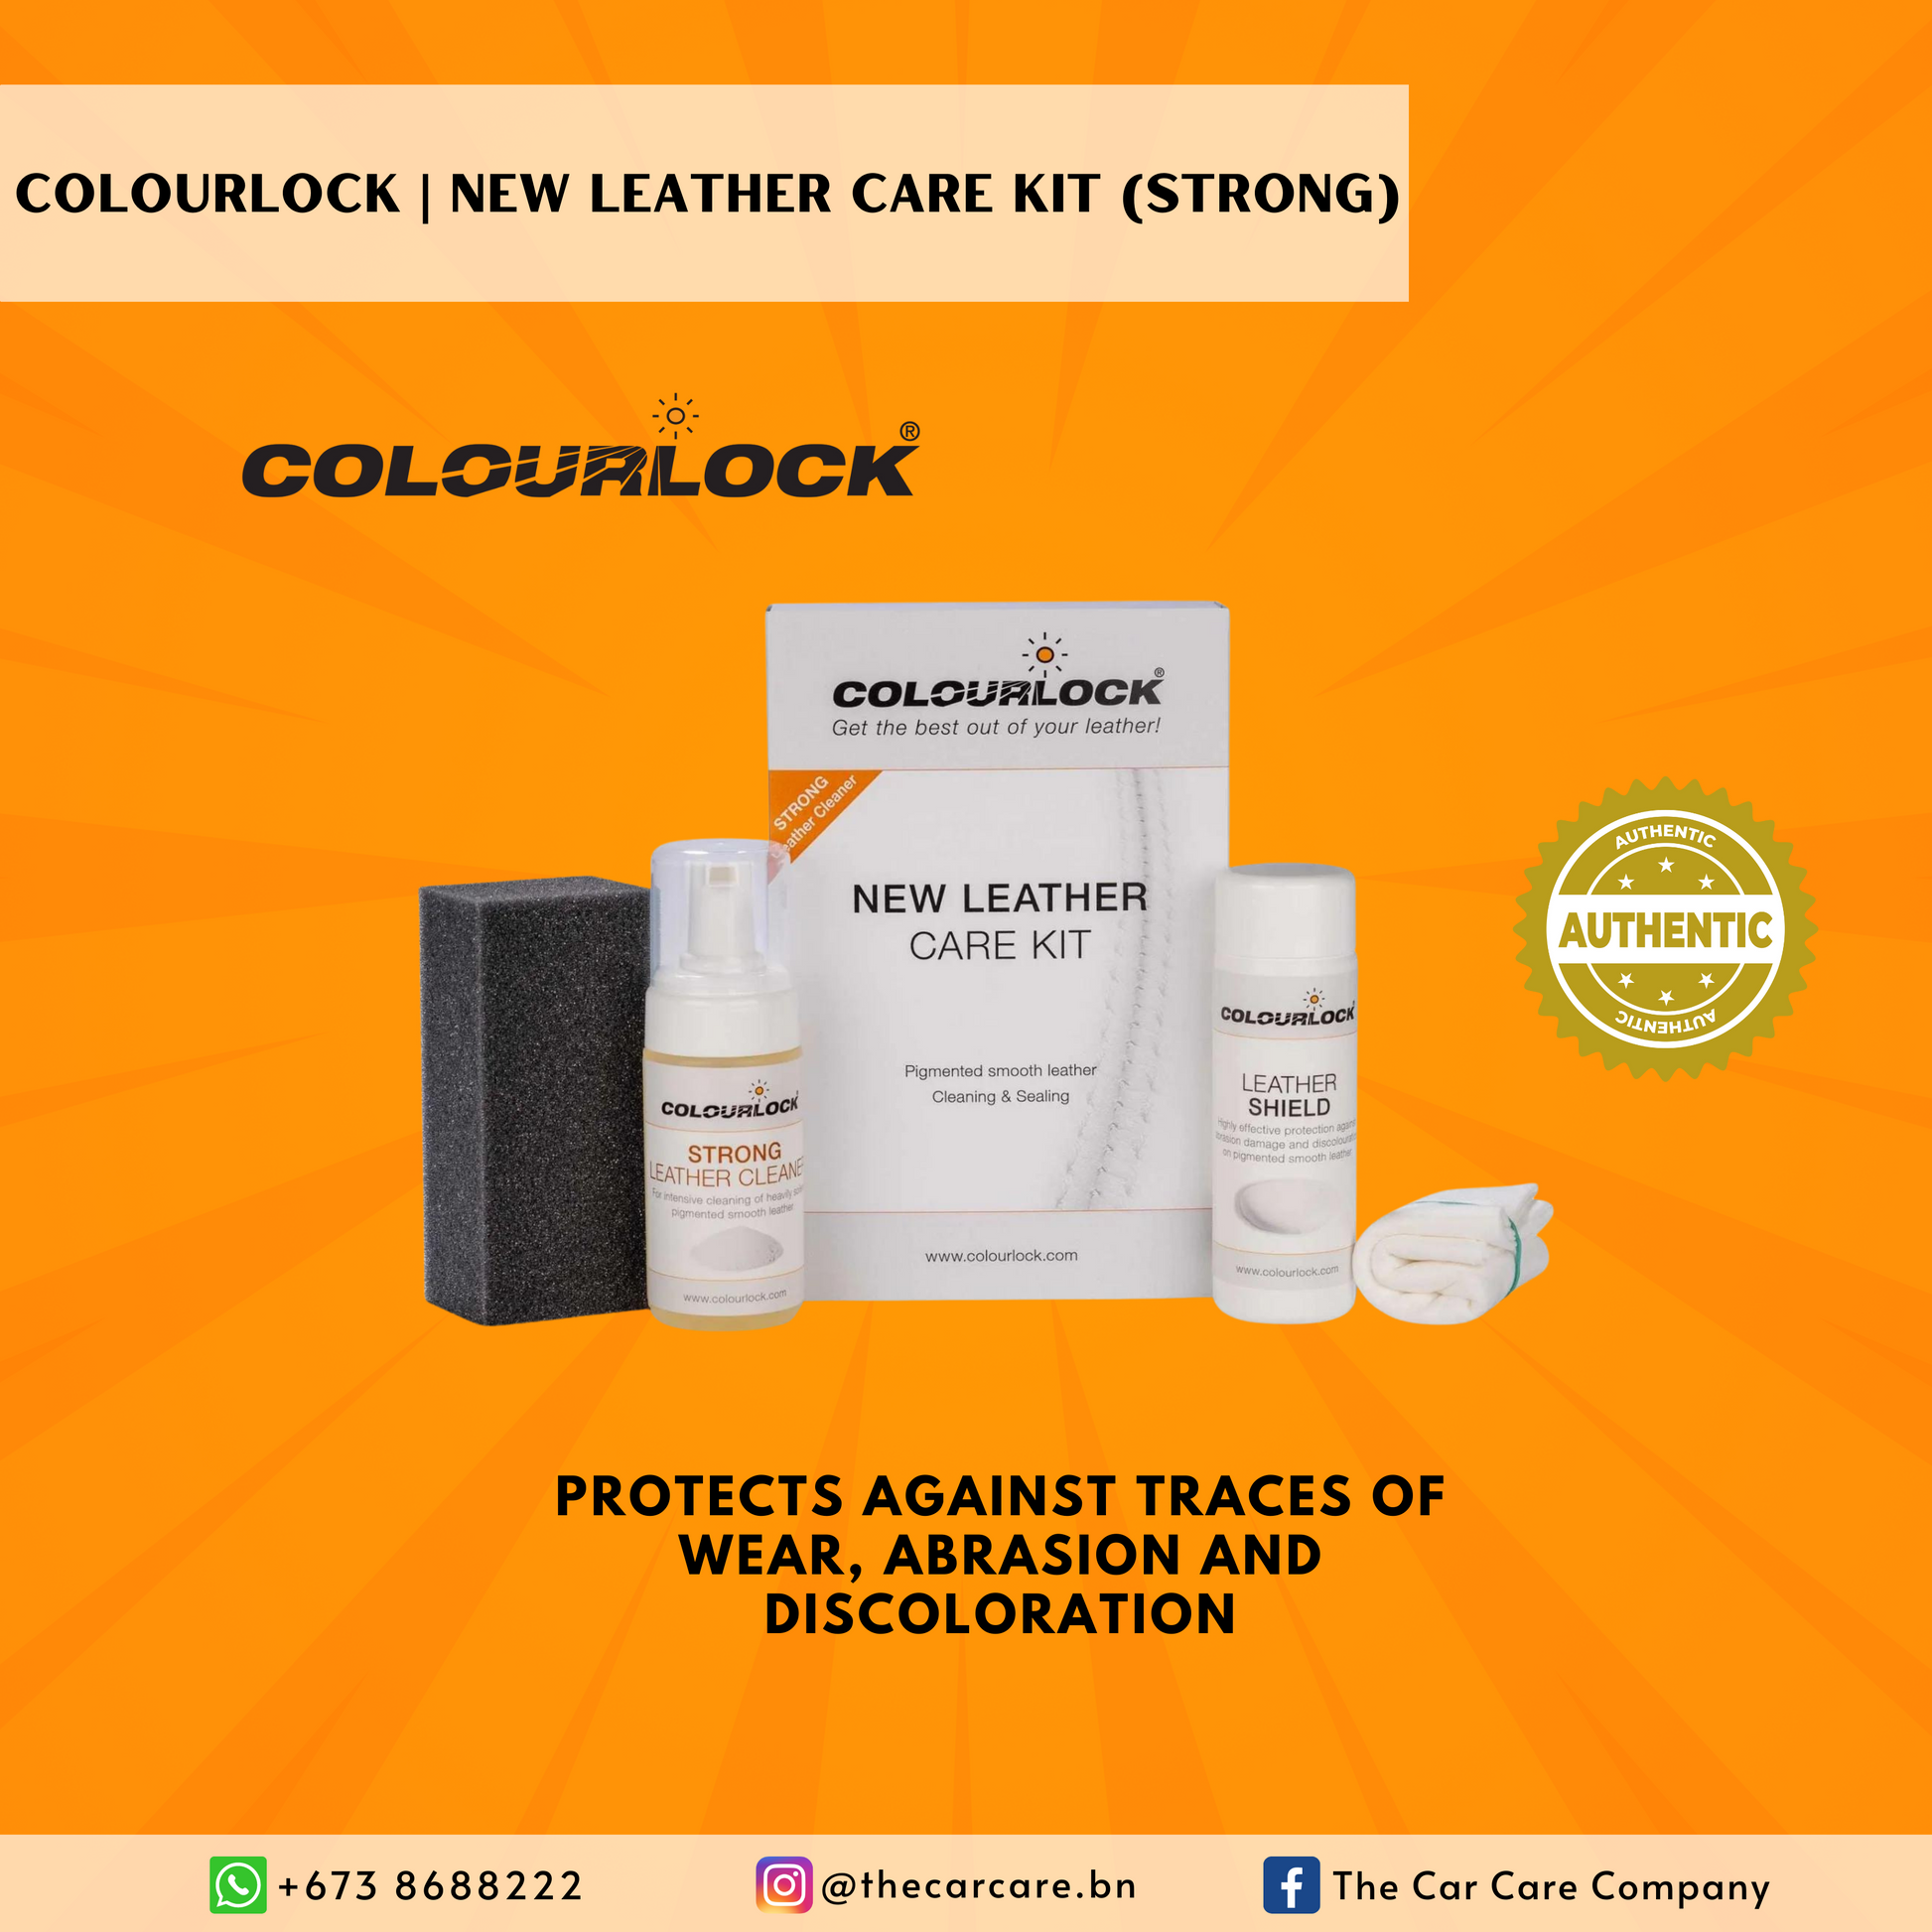
Colourlock
New Leather Care Kit (Strong) - Strong Cleaner & Leather Shield
New Leather Care Kit (Strong) - Strong Cleaner & Leather Shield
SKU:CLK3407
Couldn't load pickup availability
Colourlock’s sole purpose is to make these types of products and they do a darn good job doing it. When treating your leather, there will be more steps involved than your standard cleaning with cloth interior. The way I’m doing it, which is the obsessed way, will require extra time to get it dialed in perfectly—time well spent.
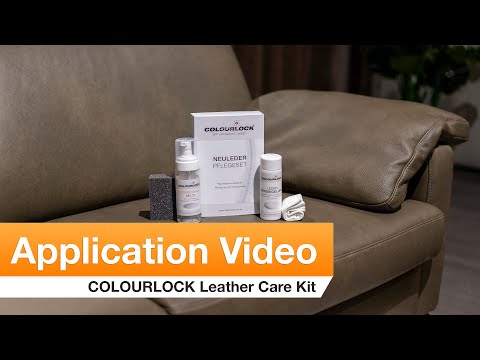
CONTENTS:
1 x strong leather cleaner, 125 ml / 5 fl oz
1 x leather shield 150ml / 4.2 fl oz
1 x cleaning cloth
1 x cleaning sponge
The new leather care set with the leather cleaner and the leather shield is the right choice for new, satin-matt, surface-dyed (rubbing a drop of water does not absorb) smooth leather. It is the right care set for leather interiors in vehicles, for leather furniture including long-life leathers and other leather upholstery.
If the leather is dirty, it should be cleaned before care (mild cleaner for normal dirt or strong cleaner for heavy dirt). This prevents the fixation of dirt on the leather by the care. The leather cleaning brush makes work easier with heavy soiling in the depths of the grain.
New leather should be treated with our leather sealant within the first 3 years. New leather does not yet require moisturizing care, but rather effective protection against signs of abrasion and wear and discoloration of clothing. In particular, the driver's seat (entry bolsters of sports seats and high support pads) or seat surfaces of light-colored furniture show signs of wear or soiling and discoloration within the first three years. The sealing effectively prevents this.
Here’s how we approached dialing in the interior leather:
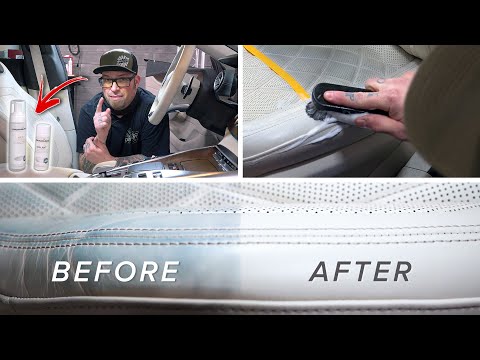
- Get it cleaned. We decided to use the strong leather cleaner on the seats because the car was used and the previous owner didn’t take great care of them. So, we shook the bottle to ensure all the chemicals were mixed for maximum performance. We then squirted the product onto a cleaning brush or sponge and began working the product into the leather in a circular motion. One thing to note, you want to apply the strong leather solution onto the brush and not directly on the leather surface. We want to get even coverage, and we also don’t want liquid seeping into the cracks of the seat, causing buildup (making the seat feel thicker). Once the product had been applied, we then wiped it off with an interior microfiber towel.
- Get it protected. After your leather has dried from the cleaner, it’s time to get it protected. In this step, we’re using leather protector with a foam sponge applicator to protect your leather from UV, prevent decay, and make the leather supple again. Simply put a few dabs of solution on the foam applicator, wipe it on the leather’s surface, and then wipe it off with an interior microfiber towel.
- Get more protection. After the leather protector has been applied, you’d wait 24-48 hours and apply leather shield, using the same process with the leather protector. This is going to be your first line of defense. In other words, protection for the protection or your sacrificial layer - similar to putting a hydrophobic coating on top of a ceramic coating on your car’s paint.
