
CARPRO
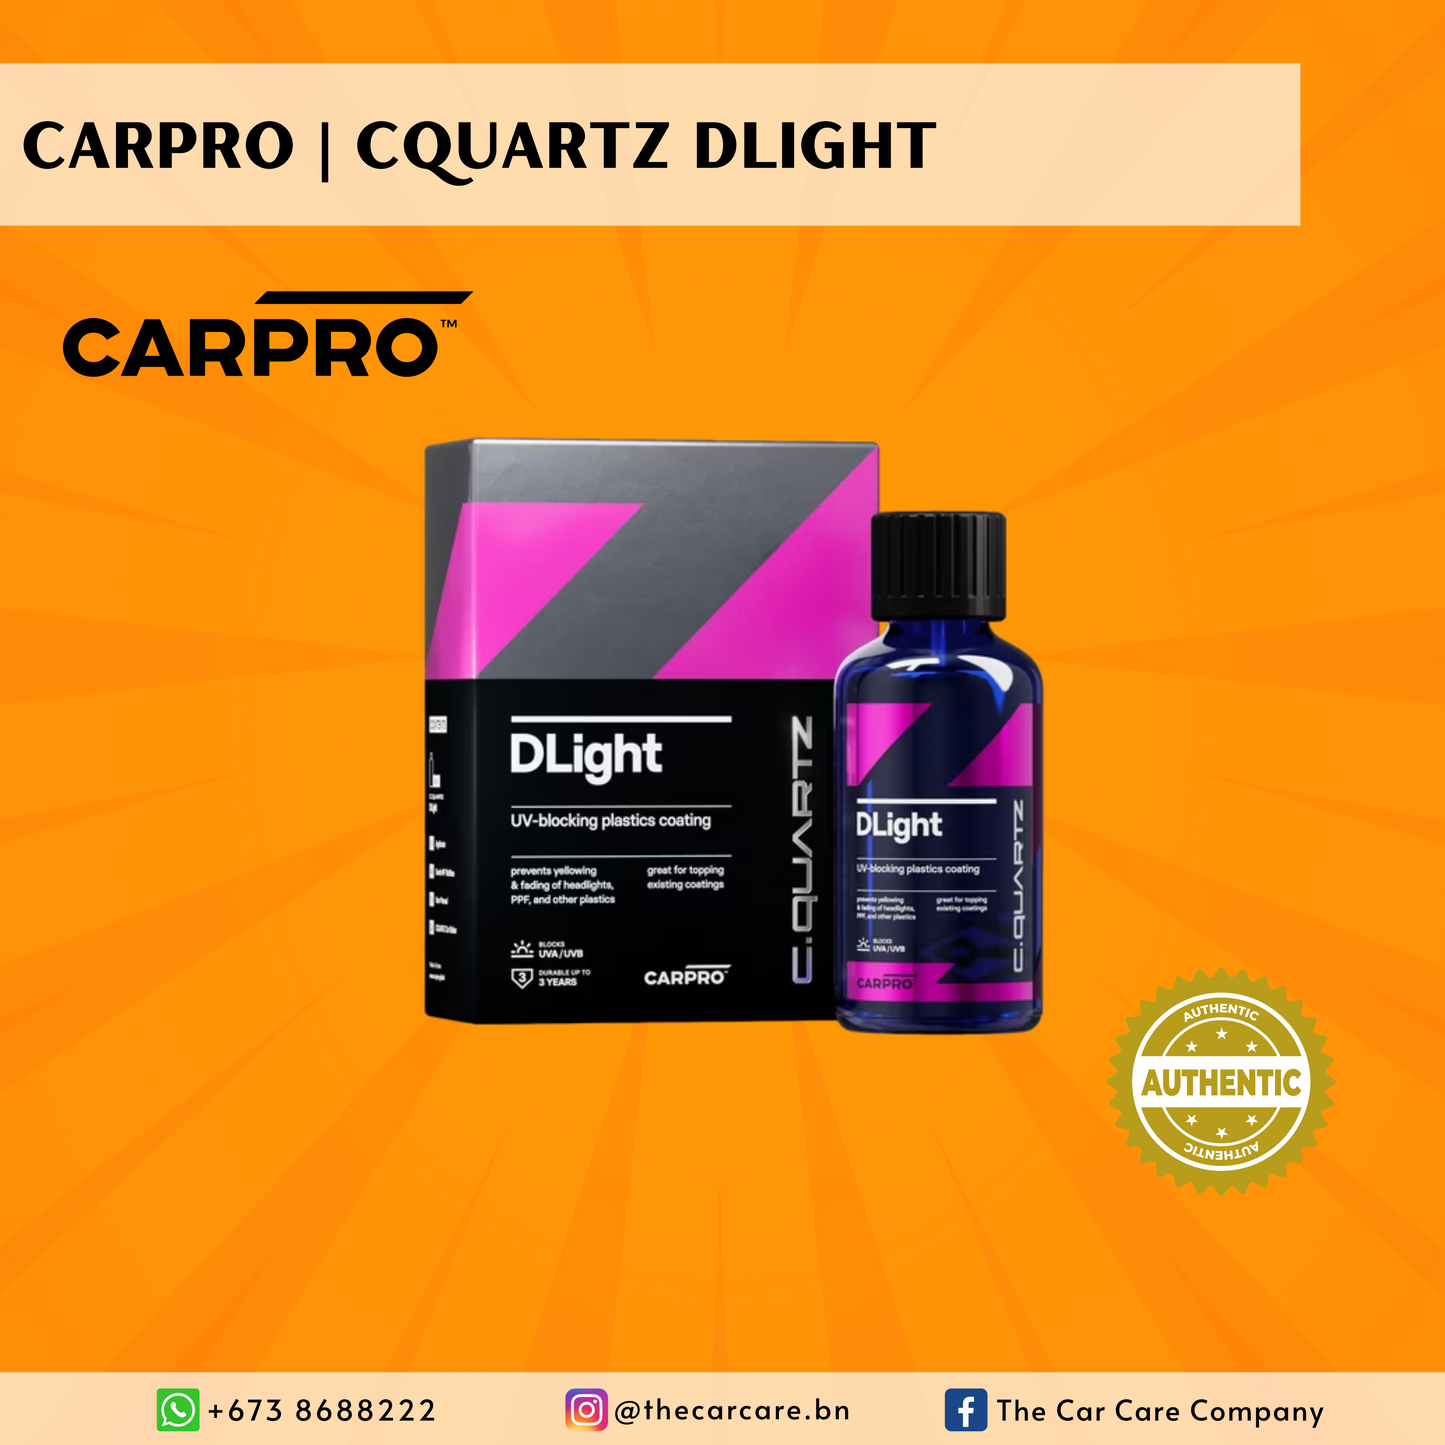
CQuartz DLight
CQuartz DLight
SKU:CAP2306
Couldn't load pickup availability
CQUARTZ DLight Anti-UV Coating
The Ultimate UV Protection for Your Vehicle’s Plastic Surfaces
Unlock un-heard of UV protection that lasts with CQUARTZ DLight by CARPRO. This groundbreaking ceramic coating is engineered to shield your headlights, paint protection film (PPF), and plastics from the harshest UV rays. With DLight, you can ensure your vehicle maintains its pristine appearance, no matter the environment.
This cutting-edge formula combines advanced UV absorbers and light stabilizers to effectively block harmful UVA and UVB rays across a spectrum of 260nm to 360nm, protecting against yellowing, fading, and cracking for a long-lasting, pristine look. Enjoy 3 years of powerful UV protection, as DLight not only preserves clarity but also maintains gloss and prevents discoloration, ensuring your surfaces stay vibrant.
Designed to enhance the beauty of your vehicle, DLight provides a stunning, transparent finish that revitalizes headlights and plastic trims. Its simple application process makes achieving professional-grade results easier than ever. Plus, DLight can be used as a top coat over existing coatings, amplifying UV protection, slickness, and durability, especially in high-UV and hot climates.
With CQUARTZ DLight, you’re not just applying a coating; you’re ensuring the long-term care of your vehicle. No other ceramic coating rivals DLight’s ability to keep your vehicle looking new and vibrant. Don’t compromise on quality—experience the exceptional benefits of CQUARTZ DLight and safeguard your vehicle’s surfaces against the elements! Checkout our Q&A at the bottom of this page or email us if you don't find your question there!
- Unmatched UV Defense: Our cutting-edge formula combines advanced UV absorbers and light stabilizers to effectively block harmful UVA and UVB rays across a spectrum of 260nm to 360nm. Protect against yellowing, fading, and cracking for a long-lasting, pristine look.
- Extended Durability: Enjoy up to 3 years of powerful UV protection. DLight not only preserves clarity but also maintains gloss and prevents discoloration, ensuring your surfaces stay vibrant.
- Crystal-Clear Finish: Designed to enhance the beauty of your vehicle, DLight provides a stunning, transparent finish that revitalizes headlights and plastic trims.
- Simple Application: With an easy-to-follow application process, achieving professional-grade results has never been easier.
- Versatile Top Coat Option: Use DLight as a top coat over existing coatings to amplify UV protection and durability, especially in high-UV and hot climates.
Don’t compromise on quality. Experience the exceptional benefits of CQUARTZ DLight and safeguard your vehicle’s surfaces against the elements!
Primary Applications:
- Paint Protection Film.
- Headlights.
- Plastics.
- Vinyl*.
- Paint.
Directions:
Precautions:
- Do not apply in direct sun or on hot surface.
- Keep away from children
- Do not re-use 4" suede applicators.
- Do not re-use the towels you used to buff off with on paint.
- Wear gloves.
Directions For PPF:
- Prepare the surface to be 100% oil free and contaminant free (see precautions).
- Wrap suede around the grey side of applicator block or simply use any coating applicator of your choice.
- Gently shake bottle, point away from your face and slowly open.
- Place applicator against the top of bottle, tip, and immediately drag one or two lines of product along length of applicator.
- Wipe evenly across 2 Sq ft +/- section in criss cross or overlapping motion without pressure.
- Wait 2 ~ 15 minutes (depending on temperatures, type of PPF, and flash time) before wiping.
- Once it rainbows and you can feel a slight resistance, wipe off with a low pile microfiber towel.
- Be sure to remove all excess residue and only then move on with wiping off next section.
- NOTE: Always test ONE section first and make sure you understand application and flash times before proceeding.
- Flip or switch out to new 4" suede every 1 ~ 2 panels or if residue becomes visible.
- Keep out of the elements for 12~36 hours for best performance and durability.
- If you wish to apply an extra layer, you may do so after 1 hour from the time you began the first layer.
- Repeat the application process starting in the same panel and moving it at the same direction around the vehicle.
Preparation of plastic surfaces:
- Make sure the surface is cool and dry. (Do not apply to hot surfaces or in direct sun.)
- Scrub surfaces with an all purpose cleaner and microfiber towel.
- Rinse while agitating with the microfiber towel to remove all residue from APC.
- Dry surface.
- Wipe surfaces with CARPRO Eraser or any panel wipe of your choice, wipe dry, and then allow the plastic surface to dry 20 minutes before applying.
Application directions for textured plastic:
- Wet the applicator with a strip of DLight and spread evenly across a SMALL area at a time.
- When applying it is VERY important to work one area in even as you go. Do not move on until it is even.
- Start in one corner and work out! Do not take on a huge area at once.
- Apply nice and even as you go. Do not try to spread too thin, but be sure to work it to an even coat in the first minute before moving to the next overlapping area. After a minute you should not be going back over that area.
- On textured trim do not wipe it off, just be sure you apply EVENLY and fully into the texture.
- On brand new textured plastic, use ceramic coatings at your own risk - See explanation at bottom.
- On smooth plastic you should wipe it off before it becomes too sticky. This results in a thinner coat that doesn’t last as long but on some smooth plastics there is not an easy way to apply it evenly.
Directions for Matte Finish Surfaces:
- On matte surfaces, use ceramic coatings at your own risk - See explanation at bottom.
- Wash thoroughly.
- Thoroughly strip with matte decontamination shampoo, rinse, and dry.
- Decontaminate with iron remover carefully.
- Do NOT polish surface - NEVER polish a matte surface.
- Wipe down with CARPRO Eraser or any panel wipe of your choice.
- Let it flash for 1 minute at 30 degC and use a low-pile microfiber towel to wipe it off in a circular motion until clear.
Directions for Paint:
- Wash, decontaminate, mechanically polish and panel wipe the paint. (*Do not use any polishes with primers or fillers in them.)
- Wrap suede applicator around the grey side of applicator block or simply use any microfiber applicator of your choice.
- Gently shake bottle, point away from your face and slowly open.
- Place applicator against the top of bottle, tip, and immediately drag one or two lines of product along length of applicator.
- Wipe evenly across 2 Sq Ft +/- section in criss cross or overlapping motion without pressure.
- Wait 5 ~ 15 minutes (depending on temperatures and flash time) before wiping.
- Once it rainbows and you can feel a slight resistance, wipe off with a low pile towel.
- Be sure to remove all excess residue and only then move to the next section.
- NOTE: Always test ONE section first and make sure you understand application and flash times before proceeding.
- Flip or switch out to new 4" suede every 1 ~ 2 panels or if residue becomes visible.
- Keep out of the elements for 12~36 hours for best performance and durability.
- If you wish to apply an extra layer, you may do so after 1 hour from the time you began the first layer.
- Repeat the application process starting in the same panel and moving in the same direction around the vehicle.
Additional Tips:
- Finding the right time to "level" (wipe off) excess coating after it flashes:
- Start with a single 2ft x 2ft test section to determine flash time before applying coating to entire vehicle. Flash time will vary depending on temperature, humidity, air movement, paint type, how thick it is applied, and more.
- If coating is applied thick then the coating will take longer to flash. If applied thin it will flash faster. Hot temps will cause it to flash faster, cold temps will cause it to flash slower. Air movement will cause it to flash faster.
- When it flashes you will see it begin to change in wetness, appearance, or else bead up.
- All streaks should wipe off and the paint should be nice and clear.
- Wait between 2 ~ 15 minutes depending on temperature, humidity, and air movement, and find the right window to wipe when you’re doing your test panel. Generally in medium temperatures 4 ~ 10 minutes is the right window.
- Lighting:
- Lighting is key to make sure you wipe off completely without leaving high spots.
- You don't want "direct light" like you would use on paint correction, but rather ambient light.
- Look at the paint from different angles to make sure none of the coating is missed.
- Spot light will "wash out" the high spots visually. Think of it like this: when you wipe off a sealant you have hours to go and check it again outside or in other lighting. In this case you need to pay attention as you go rather than wait an hour. Thorough removal of residue and streaks is necessary to avoid the need to polish off high spots later.
- High spots:
- A high spot is excess coating that was not leveled (wiped off). Most of the time it will look like a darker or rainbow colored mark.
- If you discover them within minutes then a bit more product will easily lift them.
- If found days later then you would use a dot of finishing polish such as CARPRO Reflect and rub the high spot off, wipe it down with CARPRO Eraser or your IPA of choice, and then re-coat that area and onto the area around it by about 6".
- Then start wiping off the perimeter immediately and slowly work inwards to feather it until you reach the area you are trying to re-coat at the appropriate time. This is the method used to avoid polishing the entire panel and re-coating.